Slide scanning: Troubleshooting for brightfield microscopy
Common problems and suggestions for are outlined below.
Poor lighting
- Adjust light level and/or exposure level.
- Acquire a new background image (see step 7. Background correction).
Ensure that live image and background image are acquired at the same light level.
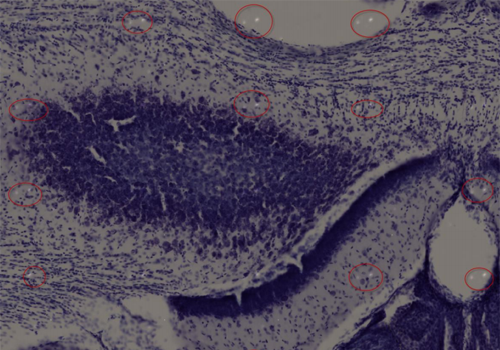
Debris on the slide is causing bright specks consistently spaced throughout the image
- Acquire another background image free of debris (see step 7. Background correction).
- Acquire a quick test image in the current field of view to ensure that the background image is suitable.
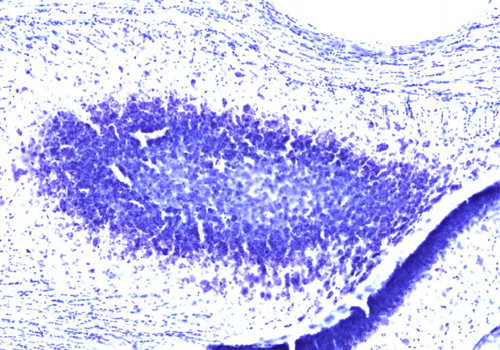
Excessive light is causing over-saturation
- Turn down the light level and/or exposure and use Clip Detection again (see step 7. Background correction).
- Ensure that the background image and live image are acquired at the same light level.
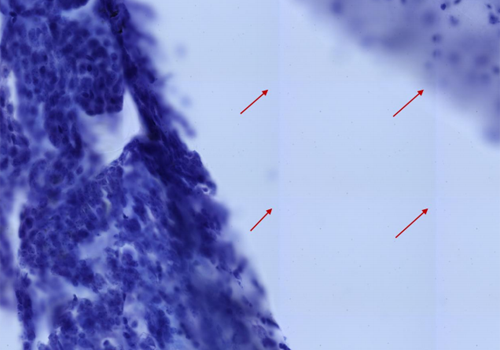
No background correction was used, or the background image has uneven lighting.
- Check the box to Enable background correction in step 7. Background correction of the Slide Scan workflow.
- Capture another background image (see Instructions for Brightfield microscopy ).
- Verify that lighting is uniform, especially around the edges of the image.
Stitching XY was not enabled
-
Stitching uses the image-tile overlap to visually align individual image tiles in the X and Y orientations. It results in better image-tile alignment and cleaner compiled images—we recommend using it in most cases.
-
Enable Stitching XY in step 8. Sample acquire to preview the result and again in step 11. Start scanning for the actual slide scan operation.
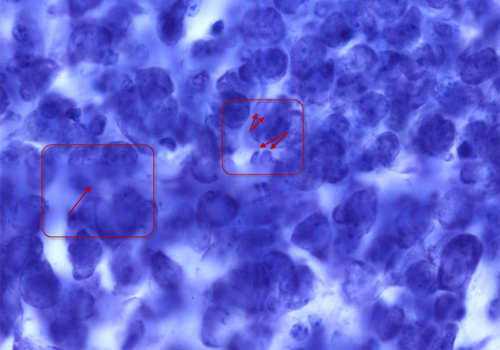
Incorrect microscope calibration or an insufficient overlap.
-
Verify that the microscope is properly calibrated (i.e., the camera is aligned, lenses are calibrated, stage movements are functioning properly).
-
Increase the Overlap / trim for images in step 5. Scan settings
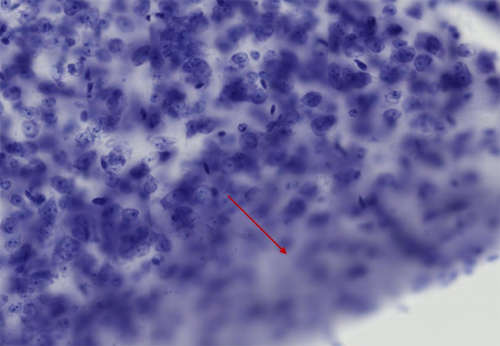
Thermal drift
Power your hardware on at least 2 hours before you set up your focus map and make sure that there is no hot or cold air blowing on it.
There were not enough focus sites.
- Try adding more focus sites to the focus map (see step 9. Define focus map).
- Verify that the focus sites are consistently dispersed throughout the contour or grid.
- If stage drift is the issue (and you allowed your microscope to warm up prior to starting the side scan), include manual Focus Adjustments at relatively frequent intervals.
- We recommend first adding a manual focus 3-4 times throughout the image and see if it helps (e.g., if the image has 2000 tiles, add a manual focus every 500 sites).
- Adjust as needed.
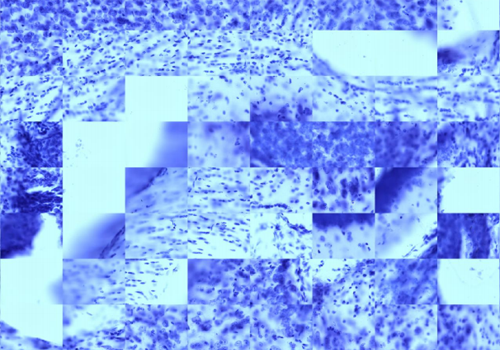
There was a mismatch of the microscope objective and the software lens selected
Verify that the lens selected in the software matches the objective selected on the microscope.
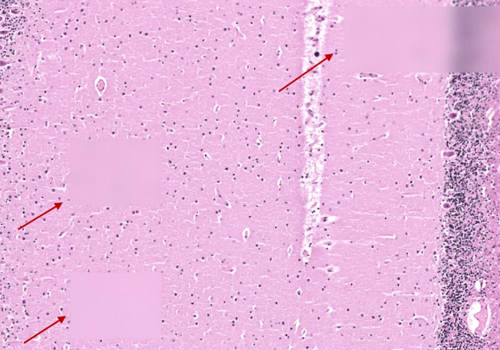
The specimen is uneven
In our experience, this occurs with extremely “wavy” tissue with big differences in z-depth between focus sites. The focus map interpolation cannot account for these large differences resulting in out-of-focus tiles.
-
Try increasing the number of focus sites in the focus map to create a tighter triangulation grid (see step 9. Define focus map).
-
You may need to include manual Focus Adjustments at relatively frequent intervals.