Serial section reconstruction with image stack
Purpose
This approach will automatically create sections via the Serial Section Manager:
- The Evaluation interval is set to 1
- The Cut thickness is set to the z spacing of the stack
Use this approach when:
- The image stack is based on either whole slide images (with a large distance between images in z) or EM (with a very small distance between images in z).
- The image stack contains the entire structure to reconstruct.
Procedure
- Use File>Open>Image stack to open the image stack.
- Open the Serial Section Manager (Workspace>Tracing>Serial Section Manager) and the Image Organizer (Workspace>Image>Organizer).
- In the Image Organizer, right-click the stack name then select Create sections from this stack from the right-click menu.

- Use the Serial Section Manager to navigate through your image stack and trace the structures (see Tracing contours
-
You can use the PageUp/PageDown keys or the mouse wheel button to navigate through your image stack but tracing is restricted to the section selected in the Serial Section Manager (i.e., current section).
- Visualize the reconstruction in 3D:
- Open the 3D Visualization window (Workspace>Views>3D visualize).
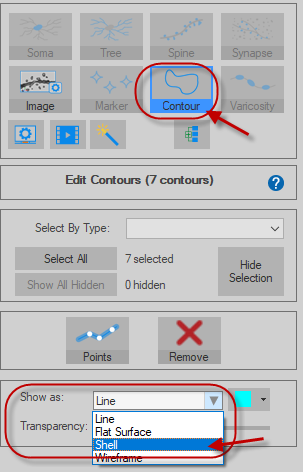
- Display the Contours panel, select contours then select Shell from the Show as drop-down menu to display the contours as a single volume.
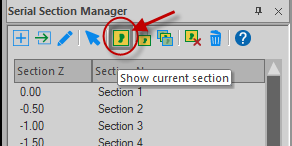
 (If you only see one contour, return to the Serial Section Manager and click the Show current section button to turn it off.
  )
) - Drag the mouse to rotate the reconstruction.
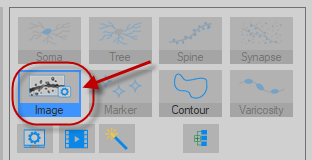
- Use the Imagepanel to adjust how your image stack is displayed.

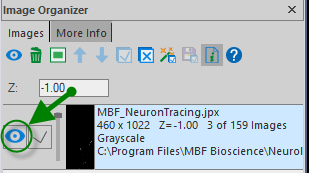
Click the Eye icon in the Image Organizer to show or hide your image in the 3D window.