Cell Detector
Use to automatically detect, count and map cells in virtual slides.
- If one channel is used, detection is based on the raw image data regardless of adjustments made to the Image Adjustment histogram.
- If all channels are used, changes made in Image Adjustment are applied.
- Load a virtual slide.
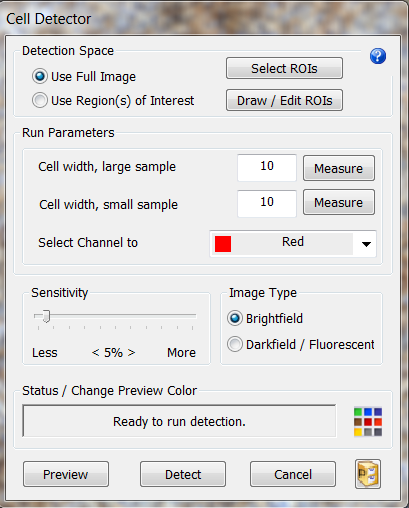
- Click Image>Automatic Object Detection>Cell Detector. The Cell Detector window is displayed
 .
. - Select Use Full Image or Use Region(s) of Interest under Detection Space.
 Use Region(s) of Interest
- Click Use Existing ROIs to use existing contours.
- Click a contour to select it; hold down Shift and click on contours to select multiple contours.
- Click Done Selecting when satisfied with your selection.
- Click Draw ROIs to trace a contour.
- Trace a contour in the Tracing window.
- Click Finished ROIs.
- Click Use Existing ROIs to use existing contours.
- Adjust the Run Parameters and select a channel.
- To use presets
 : See Automatic Object Detection/Presets
- To use presets
- Under Image Type, select the appropriate type.
- Click the Preview button and make the necessary adjustments for the run parameters and sensitivity.
- Click the Preview button again.
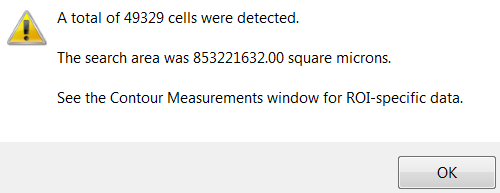
- Click the Detect button when satisfied with the preview. A Cell Detection Under Way progress box is displayed until all cell are detected (this may take several minutes).
- Neurolucida displays the results of the detection
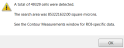 .
.- Click the Contour Measurements icon
 in the toolbar to display ROI results in the Contour Measurements window.
- Click the Contour Measurements icon
- Click OK; markers indicate the cells detected.
How it works
The Cell Detector uses adaptive thresholding for the removal of background noise and features multi-scale Laplacian of Gaussian (LoG) filtering for detecting cells with different sizes in images to reduce the false negative rate.