Image adjustments for 3D tracing
The 3D tracing algorithms use information from the image data. For this reason, it is important to make adjustments using the Image Adjustment tool prior to tracing if the image doesn't display as expected (too dark, not clear enough, etc.) and/or if you're only interested in one channel in a multichannel image.
You can use the gamma, white point, and black point settings in the Image panel, however, these adjustments will be applied to the displayed data only. Adjustments needed to improve the tracing of the data must be made in the Image Adjustment window.
For adjustments specific to fluorescence or brightfield, see the instructions below:
- Open the Image Adjustment window: Go to Image>Adjust.

- With Ungroup color channels checked, check or uncheck individual channels to turn them on or off.

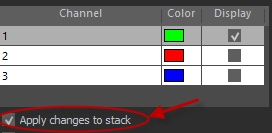
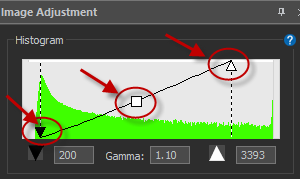
- Check Apply changes to stack then adjust brightness and contrast by adjusting gamma, black point and white point in the histogram: Drag the white square, black triangle and white triangle respectively.

 The changes are reflected dynamically in the 2D environment.
 - Verify your changes:
- Navigate within the image: Go to Image>Tool panels>Organizer, right-click over the name of the image, select Go to plane and enter the desired z.

OR
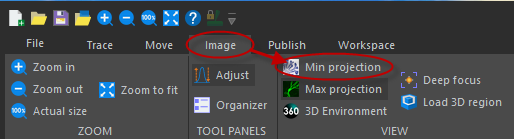
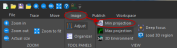
- Use the maximum projection view (not recommended for a very large image): Use Image>View>Max projection.
- Navigate within the image: Go to Image>Tool panels>Organizer, right-click over the name of the image, select Go to plane and enter the desired z.
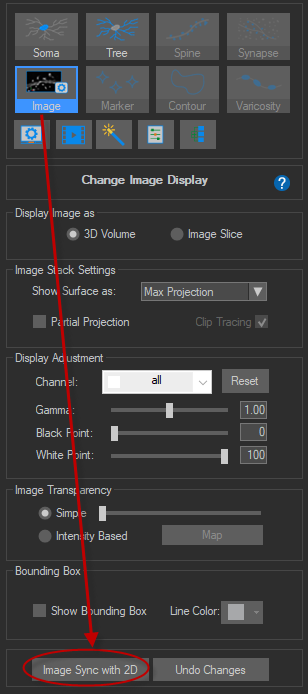
- Once you're satisfied with the adjustments, go to the 3D environment window and click the Image Sync with 2D button in the Image panel to apply the adjustments in 3D.

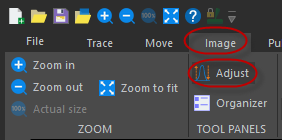

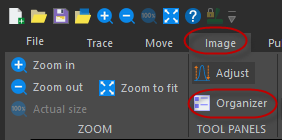

- Open the Image Adjustment window: Go to Image>Tool panels>Adjust.
- Check Apply changes to stack then adjust brightness and contrast by adjusting gamma, black point and white point in the histogram: Drag the white square, black triangle and white triangle respectively.
 The changes are reflected dynamically in the 2D environment.
 - Verify your changes:
- Navigate within the image: Go to Image>Tool panels>Organizer, right-click over the name of the image, select Go to plane and enter the desired z.
OR
- Use the minimum projection view: Use Image>View>Min projection.
- Navigate within the image: Go to Image>Tool panels>Organizer, right-click over the name of the image, select Go to plane and enter the desired z.
- Once you're satisfied with the adjustments, go to the 3D environment window and click the Image Sync with 2D button in the Image panel to apply the adjustments in 3D.