Macro View
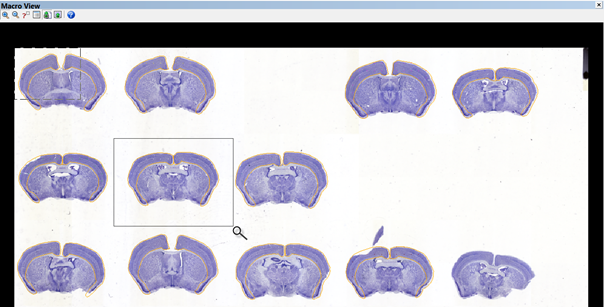
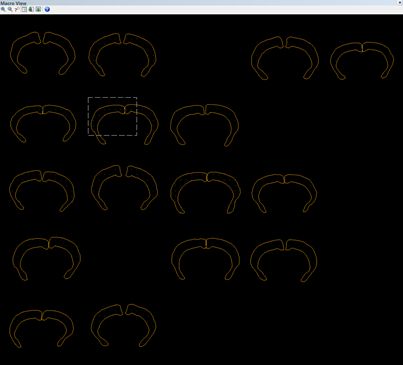
Purpose: The Macro View window provides an aerial view of the entire tracing (with or without images). The view is a top-down perspective along the X and Y axes (as in the main window).
To open the Macro View window, go to Workspace>Views>Macro View.
You can use it to quickly move to a specific part of the tracing outside of the current field of view: In Macro View, click the Go To icon then click the area of interest; the area you clicked will be displayed in the main window.
Macro View options
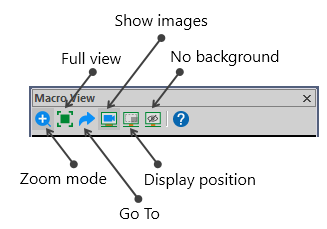
To use the options, click the icons in the Macro View window or right-click in the Macro View window.
| Zoom | Draw a marquee around an area of interest in Macro View to zoom in on it. The Zoom command applies only to Macro View; it does not affect the image displayed in the main window. |
|
| Full view |
Zooms the view out so that the entire tracing or image is visible in the Macro View window. |
|
| Go To |
Drives the stage (if using a slide on the microscope) or the image (if using an image file) to a desired location. Click on a point you wish to go to in the Macro View window to jump there in the main window. |
|
| Show images |
Image(s) are displayed along with any tracings and/or markers. |
|
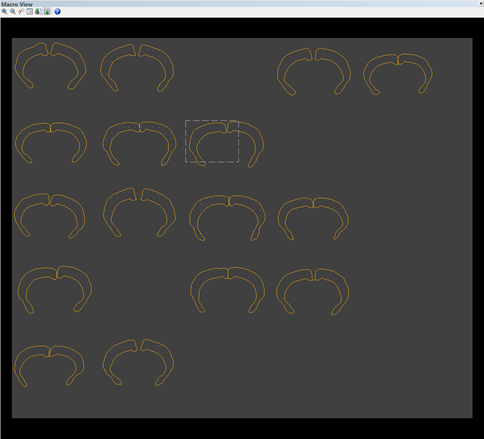
| Display position |
Displays the tracings and markers overlaid on a gray background in the position that they appear within the image. |
|
| No background |
Displays tracing or markers overlaid on the image only over a clear background. |
|
macroview