Movie mode(3D)
Read the tutorial (PDF)
Background
 Use Movie mode to create mp4 movies of your images or tracings; click the Movie button in the 3D environment.
- A movie is a series of clips.
- A clip is a series of frames (i.e., still images).
- For each clip, you need to define the first and the last frame; an animation is created by generating frames between the first frame and the last frame.
Creating a clip
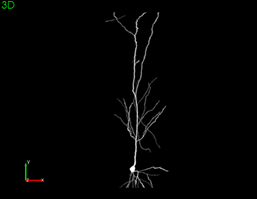
- Set the first frame in the View by zooming and panning as needed. Here, the first frame is the entire neuron in its original orientation. This is the first thing you see when playing the movie.

- Click Set start position in the timeline.
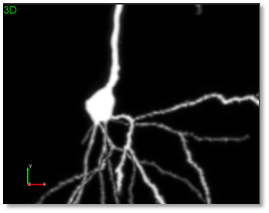
- Set the last frame in the View area. Here we zoomed in and panned to display the soma and the basal dendrites.

- Click set next position. An animation is created and added to the timeline (Clip: 1). The animation starts with the first frame (set in step 1) and ends with the last frame (set in step 3); the program generates the frames between the first and last frames to create the animation.
- Click Set end position to finish.
Another way to add a clip is to use CTRL+ spacebar on your keyboard.
Using the timeline to edit movies
The timeline displays the sequence of clips. Each time you create a clip, it is added to the timeline.
The playhead represents a point of time in the video. 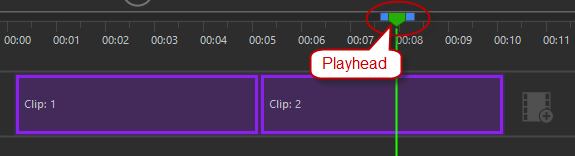
Select part of the timeline
Click and drag the playhead's blue handles to make the selection. The selected area is highlighted in blue.
Use the Zoom slider to help with time precision. 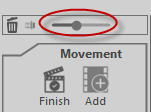
Select clip on timeline
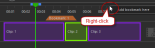
Click to select a clip. The clip is represented with a solid color. 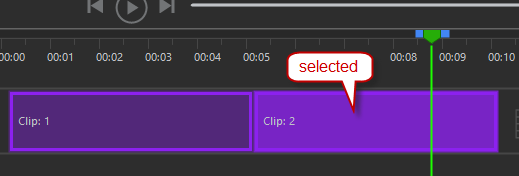
Select multiple clips on timeline
Press Ctrl and click on multiple clips to select.
Delete a clip
Click a clip, right-click and select Delete clip.
Hide tracing in a clip
- Click to select a clip.
- Right-click.
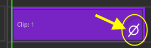
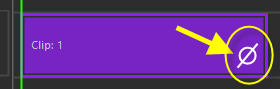
- Check the Hide tracing box. Note the symbol in the clip box indicating that the tracing is hidden.
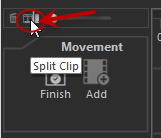
Split one clip into two clips
You can move and edit each clip separately.
- Click the Split clipbutton.

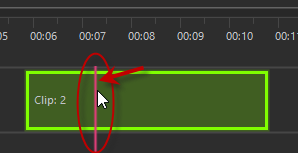
- Move the cursor over the location for the split in the clip. You will see a vertical red line.

- Click to split. The clip splits into two separate clips.
Extend the duration of a clip
Click and drag the side of the clip.
If you have two clips, make sure there is room between the two clips to extend the first one. To make room, click and drag the second clip to the right on the timeline.
Rename or change the color of a clip
Click a clip then right-click and select Customize clip.
Clear the timeline
Use the Clear button. 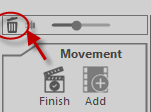
Add bookmarks
You may use bookmarks to navigate easily while editing your movie. Bookmarks are only visible to you, the movie creator.
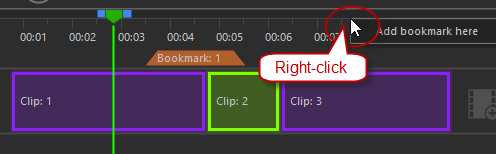
They are represented by orange markers. 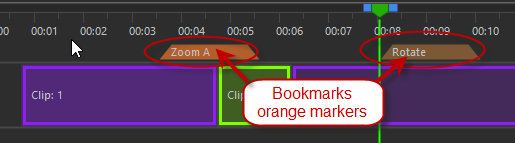
- To add a bookmark, drag the playhead to the desired frame, right-click the time axis and click Add bookmark here.
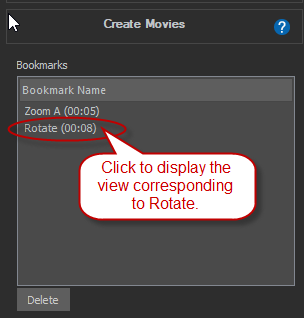
- Bookmarks are listed in the Bookmarks panel on the right. To display the view corresponding to a bookmark, click the name of the bookmark.

- To rename a bookmark, double-click the orange marker in the timeline.
- To move a bookmark, click the orange marker and drag it to the desired location.
Save and export a movie
- Save: Click the Save button to save your movie for later editing (if you need to close the 3D window before the movie is completed). It will be saved as an xml file.
To return to this xml file later, click the Open button.
- Export: Use the Export button to save the final version of your movie as an mp4. You cannot edit the mp4.
Browse the slideshow below for step-by-step instructions:
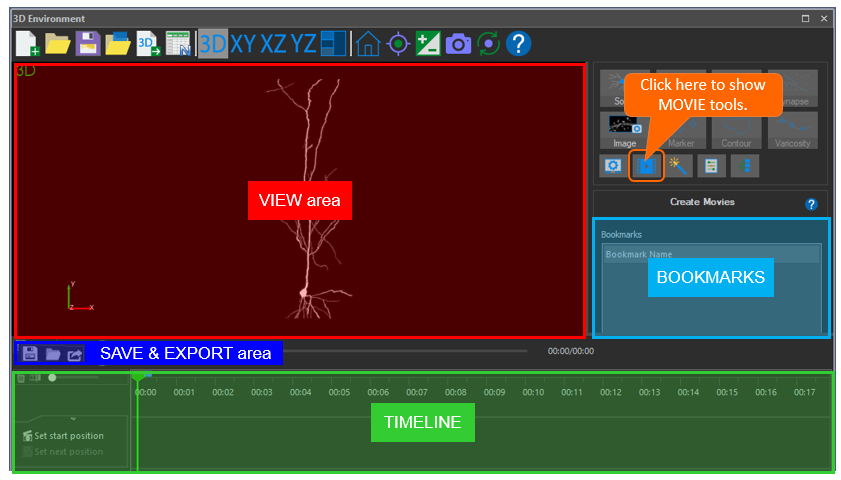
Display the Movie panel in the 3D window
In the 3D environment, click the Movie button to display the Movie tools (Timeline, Bookmarks, Save & Export).
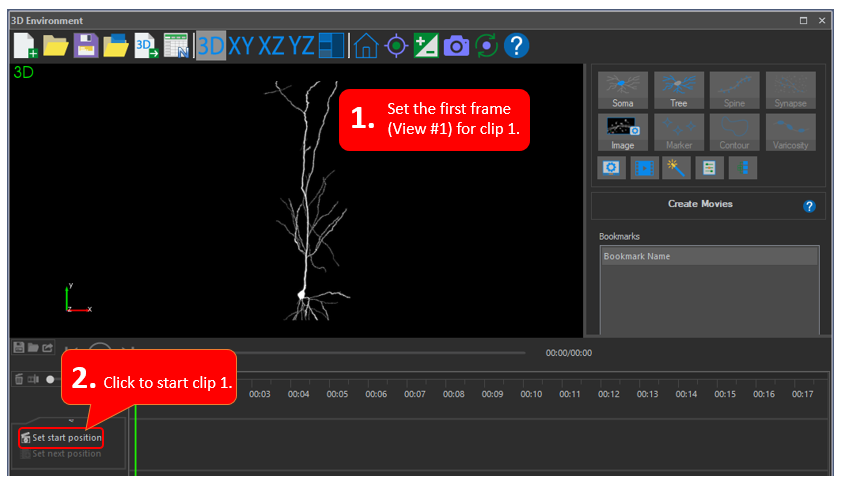
Create your first clip
- In the View area, zoom, rotate and pan as needed to set the first frame (that is, the first thing you see when playing the movie). We'll call it View #1.
- Click set start position in the timeline.
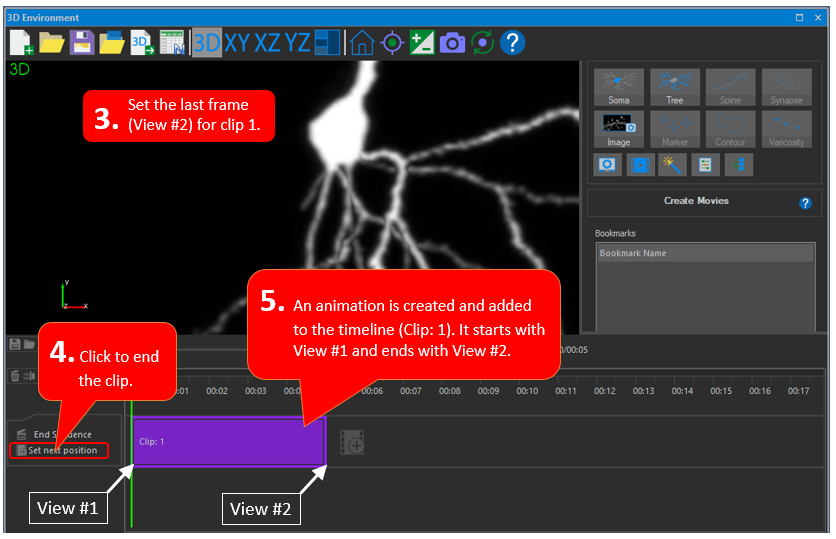
Create your first clip
- Set the last frame in the View area. Here, we call it View #2.
- Click set next positionin the timeline. An animation is created and added to the timeline (Clip: 1). The animation starts with View 1 and ends with View 2; the program generates the frames between View 1 and View 2.
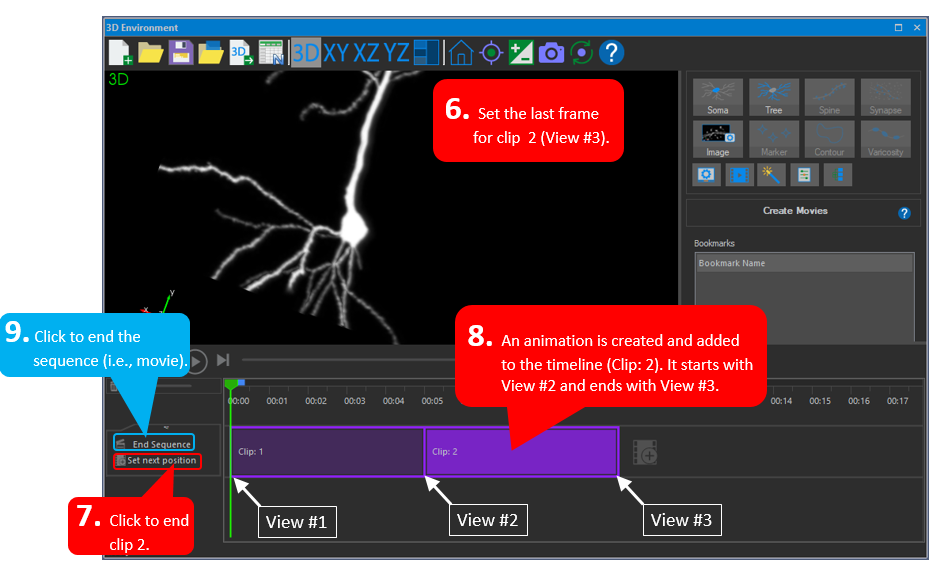
Create your second clip and finish the movie
- Set the last frame for clip 2 in the View area.
- Click set next position in the timeline. An animation is created and added to the timeline (Clip: 2). The animation starts with View 2 and ends with View 3.
- Click end sequence in the timeline to finish your movie.
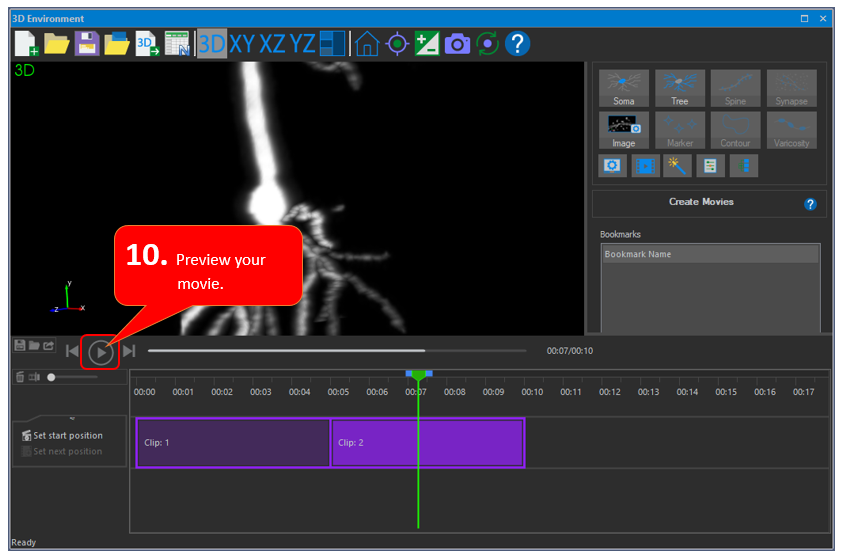
Preview your movie
10. Click Play below the View area.
Save as an MP4
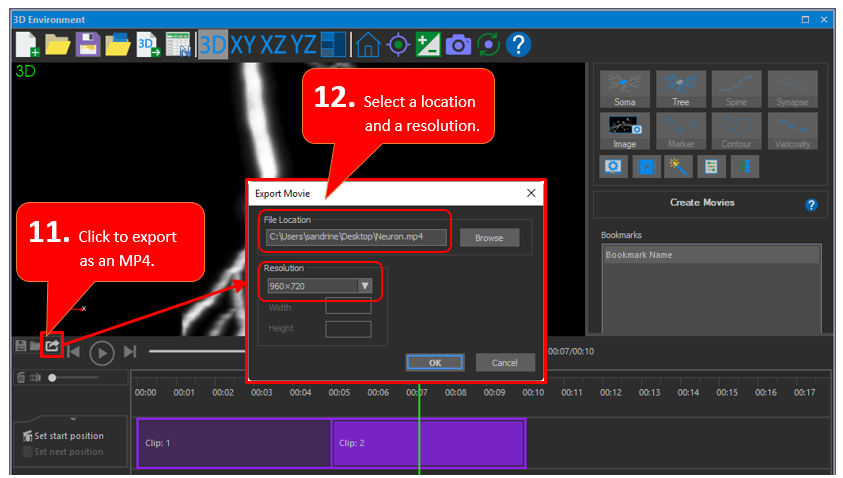
- Click the Export button in the Save & Export area.
- In the Export Movie window, select a location and a resolution.
The greater the resolution, the larger the movie file size and the longer it takes to generate the MP4.