 .. The Trace Contour button
  is added to the toolbar.
 . Trace Contour for details on using the dialog box.
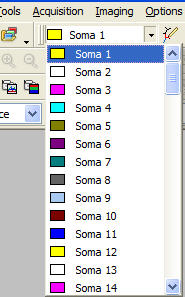 .
.Tracing contours (or mapping contours) is necessary for many of the analyses in Microlucida.
This option is available when using the Acquire Virtual Tissue tool.
.. The Trace Contour button is added to the toolbar.. Trace Contour for details on using the dialog box..To change the name and/or color of a contour, use the Options>Display Preferences>Contours tab.
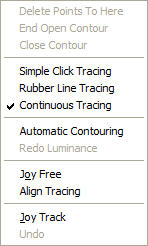 . The method chosen is strictly a matter of preference. General Preferences: Tracing
The tracing method can be changed at any time during the tracing by right-clicking in the tracing window
Control the focus via the use of the joystick or the Page Up | Page Down keys on your keyboard.
When using a microscope with a built-in Z motor system, focus using the microscope's focus knobs and the focal depth changes are reported to Microlucida.